
No, true universal chargers compatible with most electric scooters do not exist safely. Electric scooters require exact voltage matching, specific amperage output, and precise connector pin configurations to operate without causing safety hazards or battery damage. While third-party "universal multi-tip adapters" are sold online, they lack the data communication features required by a scooter's built-in Battery Management System (BMS). To protect your vehicle and preserve your warranty, you should always use original equipment manufacturer (OEM) chargers or brand-authorized accessories. Unless you are in an absolute emergency, do not use alternative power supplies. If you are caught in an urgent situation, you must evaluate a temporary alternative using strict electrical testing parameters.
The Industry Standards and Risks of Electric Scooter Chargers
Why Electric Scooter Chargers Are Not Standardized?
Unlike smartphones and laptops that have standardized around USB-C technology, the electric scooter industry uses varied, model-specific battery architectures. When you plug a power supply into an electric scooter, you are feeding current into a specific lithium-ion cell arrangement designed for that particular vehicle model.
Because different scooter brands design their models around distinct voltage and capacity limits, cross-brand standardization for power inputs does not exist. Factors such as cell layout, series-parallel configurations, and maximum charge thresholds differ from one model to another. Assuming a generic charger is safe to use simply because its plug mechanically fits into your charging port can result in internal electrical shorts or battery failure.
What Risks Do Third-Party Multi-Tip Chargers Present?
Online marketplaces sell generic charging kits that combine a single transformer brick with a bundle of interchangeable tips designed to fit various port shapes. While these options are inexpensive, they present technical risks to your vehicle's long-term operations.
The main issue with unbranded charging units is poor voltage regulation, which causes voltage fluctuations. Instead of providing a stable stream of direct current, a lower-grade transformer can deliver erratic waves of energy. This electrical instability degrades the capacitors inside your scooter's speed controller and can cause a faint flicker on your LED dashboard panel. Over time, unstable current shortens your overall scooter battery lifespan and decreases your maximum travel range.
Rider Safety Note: Safeguarding your personal mobility vehicle requires certified hardware. Before risking your battery pack on an unbranded marketplace option, look at authorized power solutions built for your vehicle platform.
➔ Browse Genuine Navee Charging Accessories

Why Should You Avoid Substituting Your Factory Charger?
How Factory Chargers Interact With the Battery Management System?
An electric scooter's battery pack relies on an integrated circuit board known as a Battery Management System (BMS). The BMS acts as the battery's brain, balancing cells, monitoring voltage discharge, and tracking internal temperatures to prevent overcharging. Factory chargers are engineered to communicate directly with this internal system.
When you replace an original power brick with a non-approved universal alternative, you remove this safety communication loop. Generic chargers cannot interpret data feedback from the BMS. They will continuously force current into the battery pack even if individual cells are overheating or struggling with high electrical resistance. Furthermore, utilizing a third-party charger voids your factory warranty protection on the battery pack, leaving you responsible for subsequent component replacement costs.
How Navee Integrates Charging Safety Features?
System safety and engineering longevity are built into Navee's personal electric vehicles. The vehicle lineup—ranging from city commuters like the Navee ST3 series, to dual-motor long-range flagships like the Navee UT5 Ultra X—utilizes multi-point protection systems. These models enforce strict protection protocols to handle over-current, short-circuit, and thermal cutoff thresholds automatically.
- Pin 1: Power Input Positive (+)
- Pin 2: Power Input Negative (-)
- Pin 3: Smart BMS Data Communication Line
For example, our all-terrain and off-road models, including the Navee XT5 Pro, feature charging ports with a dedicated data handshake line. This third pin executes a safety verification check with the factory charger before allowing electricity to pass into the deck. If you attempt to connect a generic, unapproved two-wire charger, the scooter's firmware will reject the energy intake, rendering the third-party charger non-functional as a safety precaution.
What Rules Determine Electric Scooter Charger Compatibility?
The Difference Between Nominal Voltage and Charging Voltage
A common error when searching for replacement parts is confusing nominal battery voltage with peak charging voltage.
Every micro-mobility battery carries a "nominal" voltage rating, which is the average operational voltage of the battery pack during use. However, to fully replenish that battery pack to a 100% state of charge, the charger must output a higher peak voltage to overcome the cells' natural internal resistance. If you buy an aftermarket universal charger that only matches your nominal voltage, your battery will not accept the charge. Understanding these precise metrics is essential for electric scooter charger compatibility.
How Amperage Impacts Charging Safety and Speed?
While voltage determines whether electricity can safely enter the pack, amperage (A) controls the speed at which that energy flows. Some riders look for high-amperage power supplies to accelerate their charging cycles, but forcing too much rapid current into standard cells causes severe battery degradation.
To maintain safe charging habits, you must understand the 0.5C Charging Limit Rule. This technical guideline dictates that your incoming charging current should not exceed half of your battery pack's total Amp-hour (Ah) capacity rating.
- The Safe Charging Formula: Maximum Safe Amperage = Battery Capacity (Ah) x 0.5
For instance, if you ride a commuter model like the Navee GT3 Pro featuring a 10.4Ah battery configuration, your maximum safe charging threshold is 5.2A. Introducing an unverified, non-approved 6A or 8A aftermarket quick charger creates intense internal cell resistance, generating excessive heat that shortens your overall battery lifespan.
➔ Recommended Reading: Understanding charger parameters is only half the battle. To learn the correct plug-in sequence and daily battery maintenance habits that prolong your vehicle's lifespan, read our complete guide on how to charge an electric scooter.
| Scooter Model Category | Nominal Battery Voltage | Required Charger Output Voltage | Real-World Application Example |
|---|---|---|---|
| City Commuter Models | 36V Nominal | 42V Peak Output | Navee ST3 / V40 series |
| High-Performance Commuters | 48V Nominal | 54.6V Peak Output | Navee ST3 Pro / GT3 Max |
| All-Terrain Flagship Models | 60V Nominal | 67.2V Peak Output | Navee UT5 Ultra X / UT5 Max |
Emergency Charging: How to Match an Alternative Charger Safely
Under standard operating conditions, you should avoid using anything other than the original factory charger that came with your vehicle or an official secondary replacement charger purchased directly from the manufacturer.
However, if you find yourself stuck in an absolute emergency—stranded far from home with a dead battery and zero access to your factory gear—you must evaluate alternative power sources carefully to minimize safety risks. Follow this verification process before connecting any temporary alternative power supply to your scooter.
Steps to Verify a Temporary Charger Before Using It
-
Step 1: Check the Scooter’s Under-Deck Specification Plate
Turn your vehicle over or consult your user manual to locate the product specification plate. Note down the exact nominal voltage (V) and required input parameters. Do not guess these values based on the physical size of the scooter's frame.
-
Step 2: Confirm the Target Peak Output on the Backup Charger
Examine the technical sticker on the backup power brick. Ensure the output voltage matches your required peak charging threshold exactly as detailed in the compatibility chart above (e.g., a 48V nominal system requires a charger that outputs exactly 54.6V).
-
Step 3: Verify the Pinout Polarity via a Digital Multimeter
Even if the connector physically matches your charging port layout (such as a standard 5.5mm DC barrel jack or a 3-pin GX16 connector), you must manually confirm the positive and negative terminals. Turn your digital multimeter dial to the DC Voltage setting. Place the red positive probe inside the internal terminal contact of the plug, and touch the black negative probe to the outer metal ground shield. The multimeter screen must display a stable, positive numerical value. If a negative sign (-) appears before the voltage reading, the polarity is inverted. Connecting it will immediately short-circuit your scooter's electronics.
A 15-Minute Protocol to Monitor Your Scooter While Charging
If the temporary backup hardware successfully passes your electrical checklist, connect the charger brick to the wall outlet first, and then slide the connector into your scooter's port. Remain physically present next to the vehicle and execute this strict observational safety schedule:
- Minute 1 (The Connection Check): Closely observe the scooter's dashboard panel and listen to the transformer brick. If you notice unexpected sparks, hear sharp popping noises, or detect an immediate ozone or burning plastic smell, disconnect the power source immediately.
- Minute 5 (The Charger Thermal Check): Place the back of your hand against the plastic housing of the temporary charging brick. It should feel warm as it transfers power, but you should easily be able to hold your hand against it comfortably. If it feels boiling hot to the touch, it is overloading and must be unplugged.
- Minute 15 (The Battery Deck Thermal Check): Lightly feel the underside of your scooter’s aluminum deck frame where the lithium-ion cells reside. The metal frame must remain completely cool. Any noticeable heat transferring to the exterior deck frame within the first 15 minutes indicates an internal impedance mismatch, meaning you must halt the cycle right away to ensure micromobility battery safety.

How Can You Manage Charging for Multiple Electric Scooters?
Why Using Two Factory Chargers Eliminates Commuter Range Anxiety?
The most effective way to eliminate range anxiety while maintaining high safety standards is to invest in a dual-charger system using authorized factory components.
Instead of constantly packing your single power brick back and forth in your backpack every day—where it is routinely exposed to drops, moisture, and wire strain—leave your original charger permanently set up at your home charging area. Purchase an official secondary replacement charger to leave permanently at your workplace desk or stored securely inside a hard-shell handlebar storage bag. This ensures that whether you are navigating a daily work commute or exploring a weekend trail on an off-road model, you always have immediate access to clean, certified power without relying on risky universal workarounds.
Steps to Set Up a Smart Plug Auto-Cutoff Routine
To maximize the overall lifespan of your lithium-ion cells and prevent unnecessary voltage stress caused by leaving your scooter plugged in over long weekends or extended overnight periods, you can build an automated safety cutoff using standard smart home accessories.
- Connect Hardware: Plug a smart outlet compatible with your smart home ecosystem (such as Apple HomeKit, Google Home, or Amazon Alexa) into your wall interface.
- Determine Charge Time: Look up your vehicle's standard charge duration from empty to full (for instance, a standard city model may require roughly 5 hours).
-
Write the Automation Rule: Connect your official factory charger to the smart plug and configure a simple automation routine within your smart application:
- The Setting: WHEN "Smart Outlet" turns ON -> WAIT 5 Hours & 30 Minutes -> TURN OFF "Smart Outlet"
This setup acts as an automated safety cutoff, ensuring your vehicle disconnects from active current delivery once it reaches full capacity.
FAQs
1. How Do I Know What Charger My Electric Scooter Needs?
To identify your vehicle's exact requirements, inspect the technical specification label stamped onto the back of your original factory power brick or consult your official user manual. Look specifically for the line labeled "Output" (for example, Output: 54.6V -> 2.0A or Output: 42V -> 2.0A). This gives you the precise peak voltage and target amperage needed to safely replenish your battery pack.
2. What Happens If I Use A Charger With A Higher Voltage On My E-Scooter?
Using a charger with an output voltage higher than your scooter is built to receive is dangerous. Forcing excessive electrical pressure into lower-voltage lithium-ion cells causes rapid internal heat buildup, structural cell swelling, and localized short circuits. This completely bypasses the battery's built-in safety boundaries and increases the risk of a dangerous thermal runaway event.
3. Are Electric Scooter Chargers Interchangeable?
Electric scooter chargers are only interchangeable if they are produced by the same manufacturer, utilize the exact same port style, share the identical target voltage platform, and are explicitly approved for use across both models. For example, if you own two distinct city commuters within the same brand ecosystem that operate on a shared 48V platform, they can safely utilize the same factory charger. Never swap power bricks across different brands without official confirmation.
4. How Can I Safely Charge My Electric Scooter At Work?
To safely charge your vehicle at your workplace, stick to authorized equipment. Avoid borrowing unverified cords from other micro-mobility devices or using cheap marketplace adapters. Plug your official secondary factory charger directly into a stable wall outlet rather than a daisy-chained extension cord, ensure the charging area is clear of combustible materials, and only initiate charging in a temperature-controlled environment between 15°C and 25°C (59°F to 77°F).


Compartir:
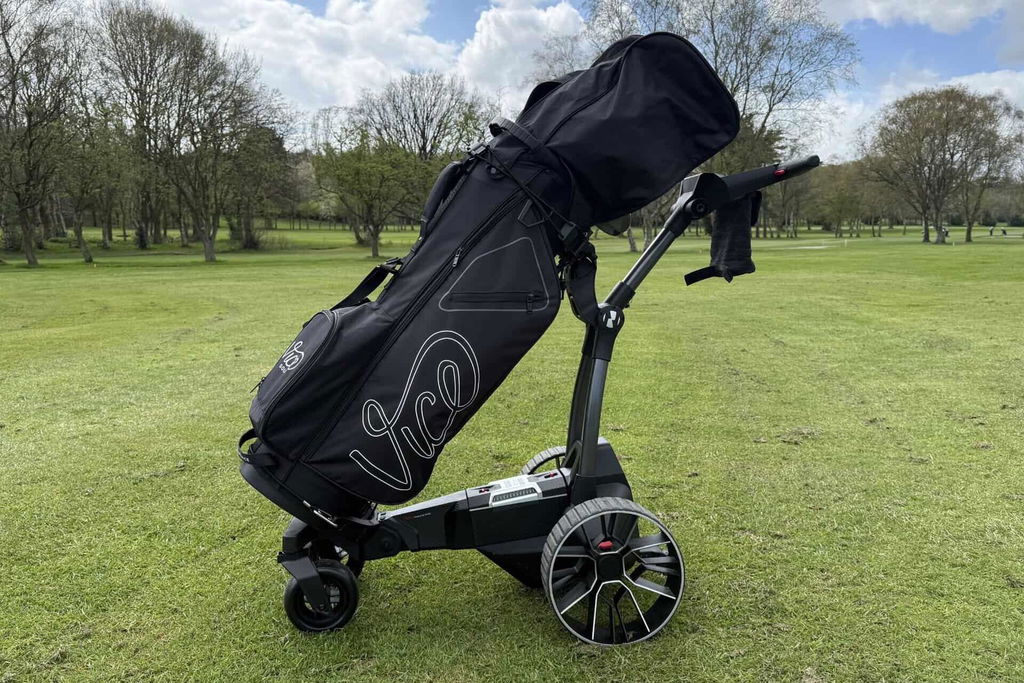
Best Electric Golf Push Cart 2026: Battery Life, Features & Course Test
How to Keep an Electric Scooter From Being Stolen