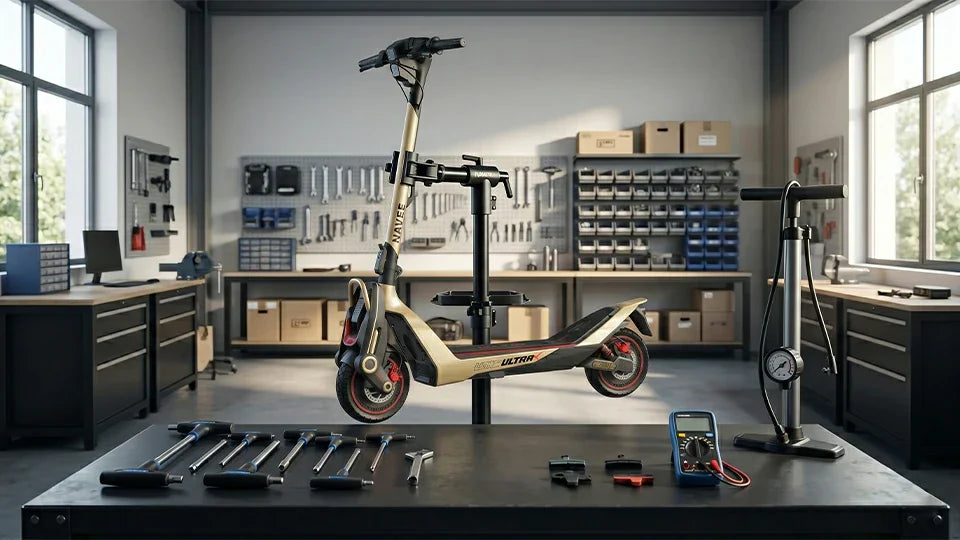
Most electric scooter problems trace back to four systems: battery, brakes, tires, and display. In most cases, the fix is simpler than it looks — and often comes down to one check you can do before you call anyone. For each system, the most likely cause comes first — not the most expensive one. Some problems are a $10, 20-minute fix; others need a shop, and knowing the difference is the point.
Your Battery Won't Charge or Drains Way Too Fast
Battery complaints split almost evenly between two causes: the charger and the battery cells themselves. Starting with the cheaper suspect saves you from replacing a $150 battery pack when a $25 charger is the actual problem.
Check the Charger Before You Blame the Battery
A healthy charger for a 36V scooter outputs around 42V; a 48V system needs a charger reading 54.6V. You can verify this with any $15 multimeter — plug the charger into the wall (not the scooter), probe the output pins, and compare. A reading more than 1V below spec means the charger is failing, not the battery.
Indicator lights carry the rest of the diagnosis. Red or orange means charging is in progress; solid green means full. A blinking red light with no actual charge transfer almost always points to the charger.
For a deeper look at charging intervals, temperature limits, and storage voltage, see how to charge an electric scooter correctly.
Signs the Battery Cell Itself Is Failing
If the charger checks out but your range has dropped 30% or more, the battery pack is the likely cause. After 300–500 full charge cycles, lithium cells typically retain around 80% of their original capacity — anything below that, and the degradation becomes noticeable on longer rides.
A mid-ride shutdown tells a different story. Most Battery Management Systems (BMS) cut power when cell temperature exceeds 45°C. That's a protective response; let the scooter cool for 15–20 minutes, and if it recovers cleanly, heat management rather than cell failure is the real issue.
NAVEE scooters use a Software BMS that tracks State of Charge (SOC) with enough precision to distinguish actual low capacity from a lagging sensor reading — the problem on budget scooters where the display reads 20% and drops to zero within a city block.

Your Brakes Feel Soft, Make Noise, or Stop Working
Brake problems are the most undersold safety issue in scooter ownership.
A healthy disc brake system should bring a 25 km/h (15.5 mph) scooter to a full stop in under 7 meters. If yours takes noticeably longer, something needs attention before the next ride.
Mechanical Disc Brakes: Three Things to Check First
Start with pad thickness. Brake pads worn below 2 mm can't generate reliable friction; most are visible through the caliper opening without removing anything. A worn pad looks almost flush with its metal backing plate.
Next, check cable tension. Squeeze the brake lever — if it travels more than 2 cm before you feel engagement, the cable has stretched and needs tightening. Most scooters have a barrel adjuster at the lever that handles this without tools in under two minutes.
Finally, roll the wheel slowly by hand and listen. A rhythmic scraping sound — once per rotation — usually means a warped rotor making intermittent contact with the pad. Rotors under 160 mm are often cheaper to replace ($15–25) than to straighten.
For the full adjustment process — including caliper centering and hydraulic line bleeding for models with hydraulic brakes — see electric scooter brake adjustment and maintenance.
Regenerative and Drum Brakes: A Different Failure Mode
Regenerative braking contributes roughly 15–20% of total stopping power on scooters that use it. It doesn't wear out in the conventional sense, but it feels weaker near the bottom of the charge because the system can't push much energy back into a nearly-empty pack.
Drum brakes, found on some rear wheels, fail almost exclusively from cable issues rather than pad wear. If the rear drum does nothing, check the cable at the lever housing — fraying near the crimp is the usual failure point.
Your Tire Is Flat, Losing Air, or Visibly Damaged
Slow leaks are far more common than blowouts. About 60% of slow leaks on pneumatic tires come from a loose valve stem, not a puncture. Before pulling the wheel, put a few drops of soapy water on the valve — visible bubbles mean that's where the air is going, and tightening the core with a $3 valve tool usually ends it there.
For a real puncture, a standard bicycle tube patch kit ($10–15) works on most electric scooter inner tubes. The repair takes about 20 minutes once you've done it once. Keep pressure between 40–50 PSI for 10-inch pneumatic tires; riding underinflated accelerates tread wear and makes punctures more likely by allowing the tube to flex against the rim.
One rule without exceptions: a tire with a visible sidewall bulge should not be ridden. A bulge means the internal cords have failed, and the tire can blow out under load without warning.
If repeated flats are the pattern, pneumatic vs solid tires covers the actual trade-offs in range, comfort, and maintenance between the two designs — past the marketing framing.
Your Display Won't Turn On or Shows an Error Code
A blank display doesn't mean a broken screen. The most common cause is low-battery protection: most scooters shut the display down at 10–15% charge to preserve power for core functions. Plug in for 20 minutes before assuming the screen has failed.
If the display powers on but shows a code, most brands use consistent shorthand: E1 typically signals a motor fault, E2 points to a battery or BMS issue, and E3 indicates a brake sensor problem. These vary slightly by manufacturer, but those three cover most of what you'll encounter on mainstream scooters.
A loose wiring harness is the second most common cause of a blank display. The stem on most scooters houses a cable that bridges the handlebar controls to the deck. If the scooter took a hard knock recently, check that connector — a firm re-seat often brings the screen back immediately.
The Line Between a DIY Fix and a Shop Visit
Most electric scooter troubleshooting comes down to one question: is the problem mechanical or electrical?
Mechanical issues — tire pressure, valve stems, brake cable tension, pad replacement, loose connectors — are accessible to any careful owner with basic tools. Parts run $0–30 for everything covered above, and the skill requirement is low.
The threshold shifts when the fault is electrical. A controller replacement runs $50–120 in parts and requires confident connector work or soldering. Battery pack swaps cost $80–200 depending on capacity, and doing it yourself often voids remaining warranty. Motor replacements sit at $80–150 and involve torque specs that affect structural safety.
If an error code points to the motor, BMS, or controller, and the scooter is still under warranty, contact the manufacturer before opening anything. Most brands diagnose remotely and ship parts at no cost — a better outcome than paying a shop's diagnostic fee to confirm what the error code already told you.

FAQs
1. My scooter shows a full battery but dies within 10 minutes — is the battery ruined?
Not necessarily. This pattern — called voltage sag — means the pack can no longer hold voltage under load, even though it reads full at rest. It's common when individual cells have degraded unevenly. Check how many charge cycles the pack has logged: past 400–500 cycles with a 30%+ range drop, cell-level replacement is the likely fix, not a software reset.
2. Can I patch an electric scooter inner tube myself without a repair stand?
Yes. Remove the wheel by loosening two axle bolts, pull the tube out, and use any standard bicycle patch kit — the rubber compound is compatible with most scooter tubes. The trickiest step is reseating the tire bead without pinching the tube; plastic tire levers rather than metal ones reduce the risk of creating a second puncture.
3. My scooter beeps three times when I turn it on — what does that mean?
Three startup beeps on most scooters correspond to an E3 brake sensor error. This usually means one brake lever is resting in a slightly engaged position — which triggers the motor lockout — or the small magnetic sensor near the lever has shifted out of alignment. Check that both levers return fully to rest and that the sensor hasn't been bumped.
Wrapping Up
The practical divide in electric scooter troubleshooting is mechanical versus electrical. Mechanical problems — tire pressure, brake cables, pad wear, loose connectors — are the most common category, and almost all of them are within reach of someone willing to spend 20 minutes with a basic tool kit.
Electrical faults are a different calculation. An error code pointing to the controller or battery pack is a signal to stop experimenting and start a conversation with your manufacturer or a certified technician. Riding on an undiagnosed electrical fault tends to convert a small repair into a larger one.
One practical habit that improves almost every warranty outcome: keep your original purchase receipt and note your charge cycle count if the scooter tracks it. Both reduce the back-and-forth with support significantly, and they cost nothing to maintain.
If you're a NAVEE rider and aren't sure whether your issue is a DIY fix or something that needs a closer look, our support team can walk you through it — or you can browse the full NAVEE lineup at naveetech.us to see which models come with the battery and brake specs that matter most for your commute.
Compartir:
Common Electric Scooter Problems and How to Fix Them
Electric Scooter Laws In Texas: Rules, Age Limit, And Where You Can Ride